Showing posts with label Dessert. Show all posts

Sunday, August 31, 2014

Bread Pudding


No I haven’t stopped cooking, but simply lazy. I do cook, click pictures with the thought of putting in my blog. But alas!! Today I finally thought enough is enough and picked up the pen. I mean not literally. So let’s get started.
 
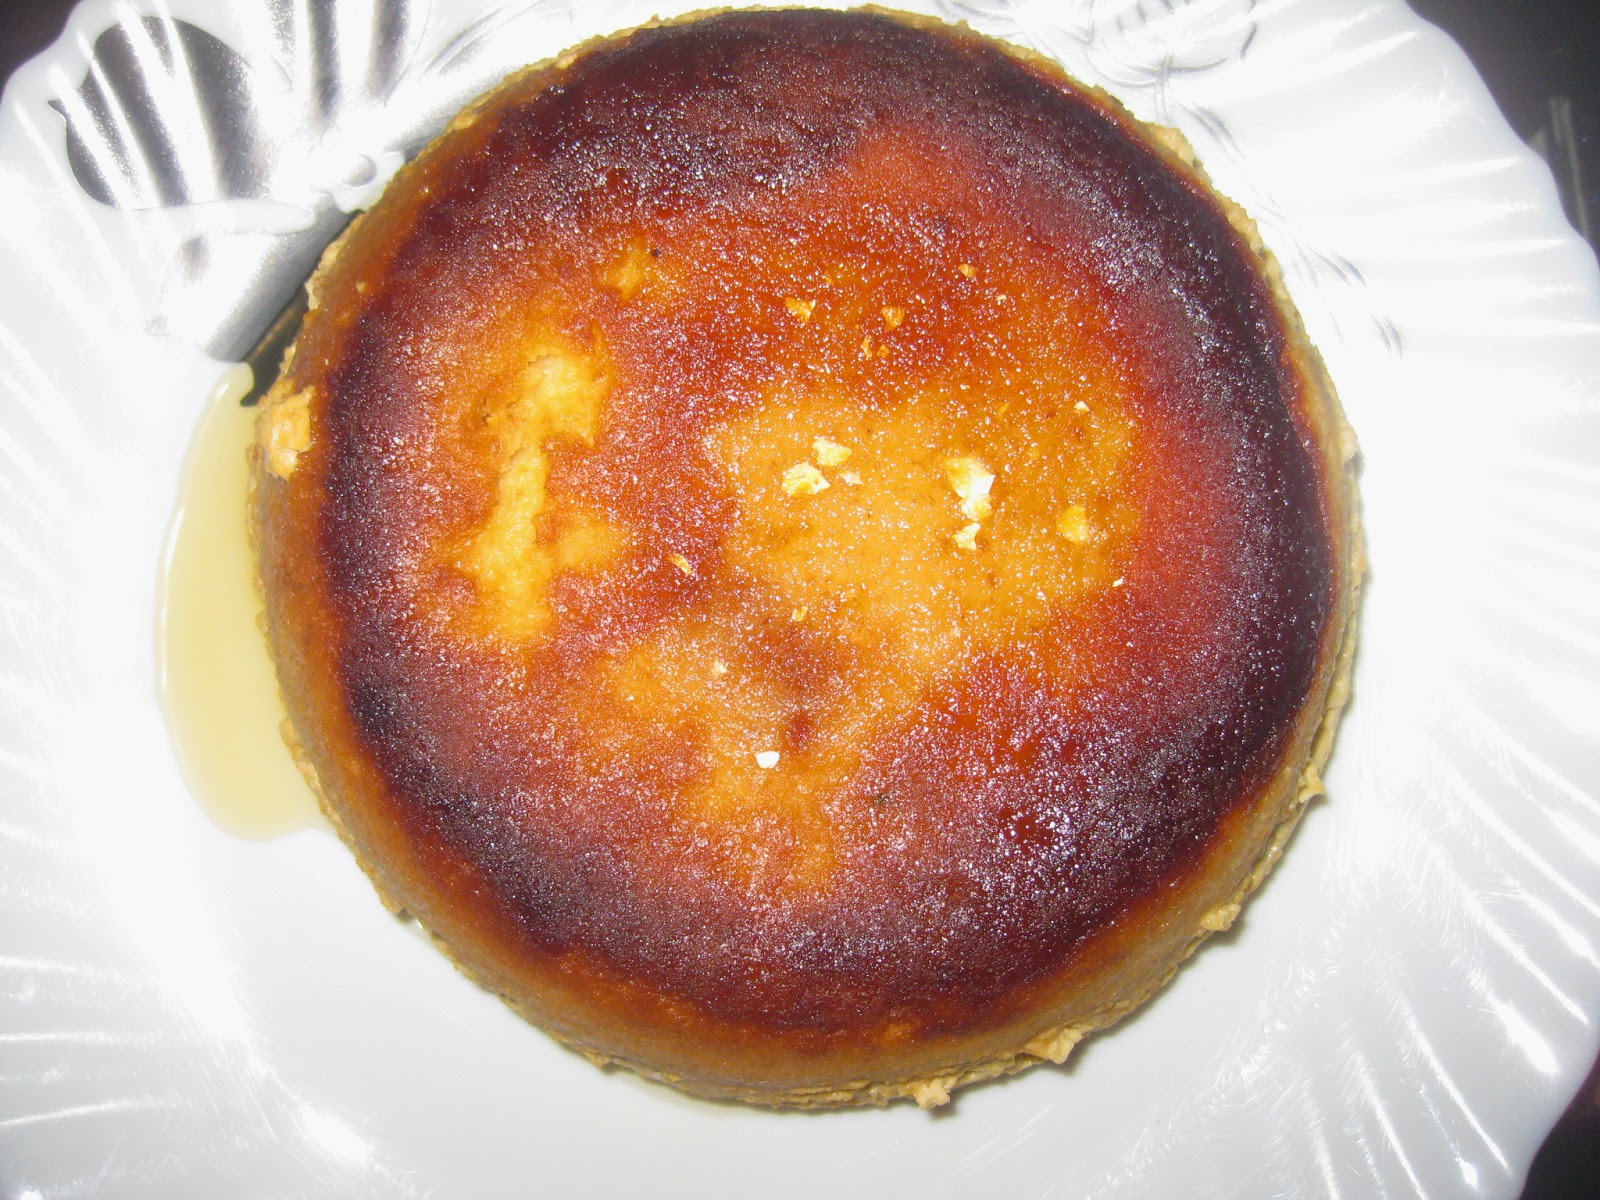
A colleague got this one day and it tasted awesome. Her mother-in-law made and I insisted on the recipe. So here it goes.

Ingredients

·         ½ litre milk
·         6 eggs
·         6 bread slices
·         Sugar as per taste (I prefer keeping it a little less sweet)

Method

Soak bread slices in milk, once it becomes soft add eggs and sugar and mix it nicely. I used the hand blender.
For the caramel, take a dry container put some sugar and on slow flame keep the vessel. Once the sugar starts melting on the slow flame, spread the sugar caramel on the entire bottom of the vessel.
Then add the pudding mix in that container.

In the cooker add some water, keep the steam plate and then place the pudding vessel on the steam plate. Cover the pudding vessel with silver foil or a thin muslin cloth. 

Cover the lid with the cooker whistle; remove after one whistle on fast flame and another 2-3 on slow flame.
For caramel pudding, do not add the bread.

You can keep it in  the fridge and serve a bit chilled or at room temperature.


Happy Cooking!!

Shreya

Wednesday, February 13, 2013

Gajar ka Halwa


I know its been a long time. Met with an accident and was bed ridden for quite sometime. Destiny as they say. But here I come again. So no better way to start than a sweet dish. Who doesn’t like a little bit of sweet after a good meal. Everyone of us that surely has that much of sweet teeth.

Gajar ka halwa is one of the most popular Indian Desserts. It a sweet dish made of grated carrot and full of rich flavours.

So lets get started!!

Ingredients:

  • Carrots 8-10
  • Cashewnuts 5-6
  • Almonds 5-6
  • Raisins 10-15
  • Pure Ghee 3 Tbsp
  • Milk 3-4 cups
  • Green Cardamom Powder 3/4Tbsp
  • Mawa (Khoya) 1 cup
  • Sugar 1 cup
  • Silver warq 1 sheet (optional)


Method:

Peel, wash and grate the carrot. Chop cashewnuts and blanch almonds in half cup of hot water for about ten minutes. Drain, cool, slice them and keep them aside. Wash raisins, pat them dry and keep aside.

Heat ghee in a thick bottomed non stick pan; add grated carrot and sauté for about five minutes. Add milk and green cardamom powder and cook on medium heat till the milk dries up and the carrot is well cooked.

Stir in the khoya and the sugar. Keep some khoya aside for garnishing. Cook till the time khoya mixes well and sugar melts. Keep stirring continuously.

Continue cooking for a few more minutes.

Serve in a bowl, garnish with chopped cashewnuts, sliced almonds and raisins. Decorate with silver warq, if you feel like (I haven’t used though). Instead I grated some khoya on top.

Serve hot or at room temperature.

Happy Cooking!!

Shreya

Monday, July 9, 2012

Banana Cake (With chocolate frosting)


I know that’s not very conventional. I really do not like the flavour of banana as a fruit personally, so the idea of banana cake was not at all very appealing to me. But my conception totally changed when I tasted one. The one I tasted had a cream cheese frosting. I was too eager to make it. But didn’t have cream cheese at home so opted for the most convenient & safe one – ‘Chocolate’. 


The second time when I tried, I did it without any frosting. Though I was a bit sceptical, but it was equally good with much less calories of course. 

So let get started.

Ingredients
¾ Cup of self rising flour
1 Tsp of vanilla extract
2 eggs
1 Tsp of baking powder
50 ml of cream
½ Cup of granulated sugar
1 ripe banana
4 Tbsp of butter
¼ Tbsp of salt
½ Tsp of baking soda

For Frosting (optional)
6 Tbsp of unsweetened cocoa powder
4 Tbsp of unsalted butter
1 Tbsp of vanilla extract
¾ Cup of brown sugar
5 Tbsp of condensed milk
Icing sugar to sprinkle on top
Chocolate Sauce

Method
Preheat oven to 350F / 180C. Grease a cake pan properly. Sprinkle a little bit of flour.

Put the flour, baking powder, salt, and baking soda into the food processor and whiz them together for about 15-20 seconds.

Chop the banana into the food processor next and whiz into a pulp. Make sure the banana is really ripe. It can be done by hand using a fork or potato masher, in a separate bowl.

Add the sugar and eggs to the mashed banana and whiz for another minute. Then add the butter and whiz for another minute until the mixture is thick and creamy.

Next, add the cream and vanilla extract. Fold together carefully,  making sure that there are no air bubbles.

Now fold the flour mixture into in a separate bowl. Add the dry ingredients to the wet ones and fold until just blended.

Scoop into greased tray and smooth out the top layer evenly.

Bake for about 40 minutes or until the top turns golden brown and the cake passes the skewer test. Remove and let cool completely before frosting.

For Frosting
In a medium bowl, sift together the brown sugar and cocoa powder, and set aside.

In a large bowl, cream butter until smooth, then gradually beat in sugar mixture alternately with condensed milk. Blend in vanilla. Beat until light and fluffy. If necessary, adjust consistency with more milk or sugar.

When the cake is cools, layer the frosting on the frosting on top & sides with a spatula. Then using a spoon, pour chocolate sauce in patterns on the cake. Sprinkle some icing sugar on top through a sieve.

Cut and serve.

And don't forget your potion of love.


Happy Cooking
Shreya

Wednesday, May 16, 2012

No-Bake Eggless Mango Cheesecake


Making eggless or without baking wasn’t the plan though.. But didn’t have a springform pan.. But if something gets into my head, I have to do it- trait of a true fire sign you see!! So I decided to use my wine glasses & shot glasses as the molds. Later on I found out that it can really be good way to serve the dessert in a party.
Just a week back it was my husband’s birthday I could not bake him a cake as I wasn’t well. So I dedicated this to him as he loves mangoes. What really made me happy was that he loved it!!

Ingredients
·         Cream cheese - 250gm.
·         Cream - 200 gm.
·         Sugar – 1 cup ( I used this much as my mangoes were not that sweet)
·     Mango pulp (I bought 500gm fresh mangoes & made the pulp, you can also use ready made mango pulp if fresh ones are not available)
·         Gelatin - 1 Tbsp.
·         Hot Water - 1/4 cup
·         Digestive Cookies -2 cups (Depending on how thick you want the base to be)
·         Unsalted butter, melted – 100 gm.
   

Method

For making the Crust:
First whiz the digestive cookies in a food processor. I broke them into small pieces and used my grinder instead. Then add melted butter and whiz again until the mixture comes together. Press into the bottom of a 9" springform pan that's lined with aluminum foil or use individual glasses (like I used). Refrigerate while preparing the rest of the cheesecake. If you are keeping in the freezer keep it for 15-20 min else keep it for 40 min.


For Making the filling & the mango glaze:

Mix the cream cheese, cream, and sugar in a bowl until well combined. You can do it by hand or you can use an electric beater to make life simpler.

Then add the gelatin to the hot water and stir till it completely dissolves. Add the mango puree and stir well. Keep half of this mixture aside and add the other half to the cream cheese mixture. Stir gently until well combined & you get a smooth mixture of uniform consistency.

Pour on top of the digestive cookies base.


Return to fridge for another 45-55 minutes.

Pour the mango-gelatin mixture as the third layer. Do this gently so that the layers don't combine, otherwise a distinct mango glaze would be missing.


Refrigerate overnight and it is ready to be served!!


PS: Please remember to put infinite amount of love in your ingredient list to make it yummier!!

Happy Cooking,
Shreya